Follow the steps:
We will start with the normal horizontal robot:
- Begin by detaching the Castor Wheel from the Robot using the Screw Driver.
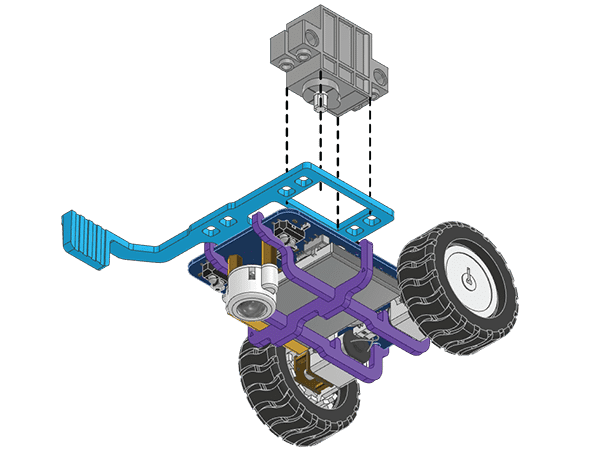
- Next, attach the B8 Plate to the Quarky Robot using the Castor Wheel and the M2.5 Bolts. Tighten it using the Screwdriver.
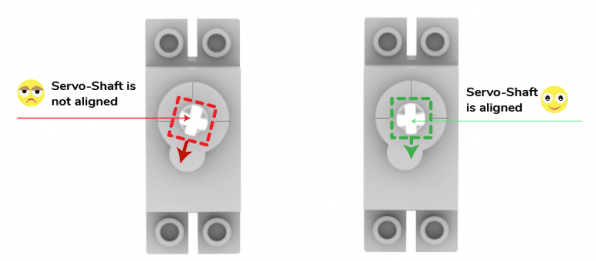
- Next, snap the Geek Servo Motor to the B8 Plate as shown in the figure. Make sure the orientation of the Servo Motor is downwards and the Servo Shaft is aligned as per the figure.
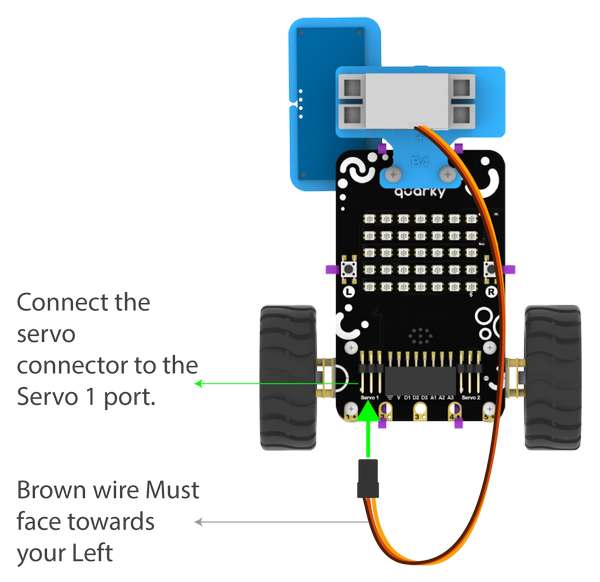
- Connect the Servo Motor to the Quarky.
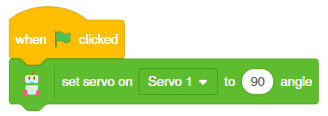
- Open PictoBlox and set the Servo Motor angle to 90 degrees. The servo head should get aligned properly.
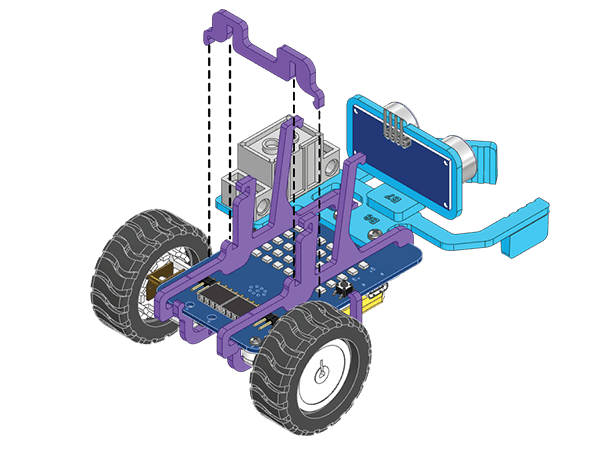
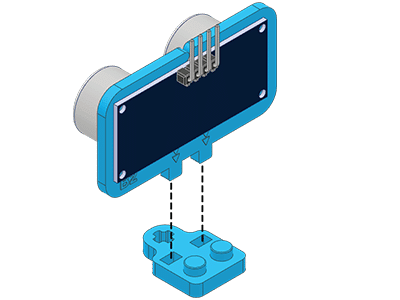
- Attach the B9 Plate to the Servo Motor Shaft.

- Push-fit the Ultrasonic Sensor into the B2 Plate.
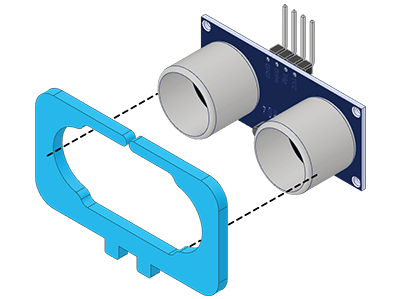
- Push-fit the B2 Plate into the B7 Plate as shown in the figure.
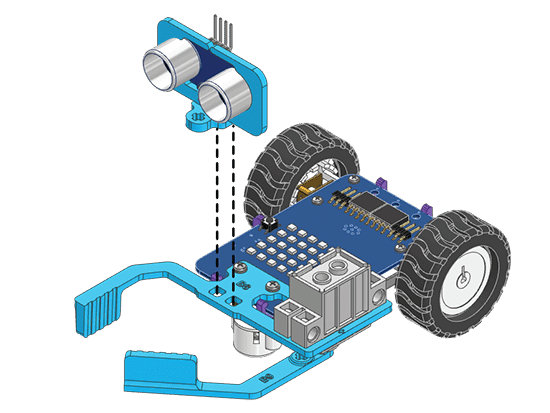
- Snap the B7 Plate to the Front of B8 Plate as shown in the figure. Make sure the B7 Plate is tightly attached.
- Snap the A3 Plates to the Quarky Robot as shown in the figure.
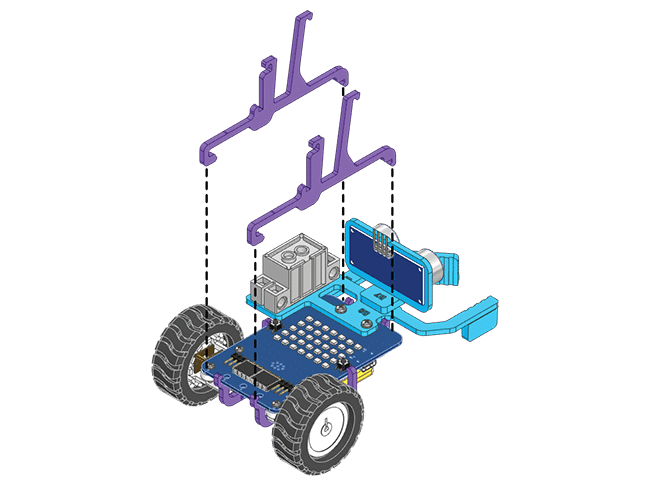
- Lock the A3 Plate using the A4 Plate.